모바일, PC 등 여러 프로그램과 앱들이 제공되어 편하게 사용할 수 있다는 장점이 있다.
처음 접한 건 Windows 2008 R2 사용할때였는데, Nginx로 구동하려니 무언가 잘 풀리지 않았었다.
그래서 Apache를 설치할까 고민도 하다그냥 그대로 갔었고,
이번 기회에 리눅스로 바꾸게 돼서 다시 Nginx를 설치했는데 마찬가지로 안돼서한참 고생했었다.
우선 사용 후기는 좀 써보다 올려야 할것 같고, 내가 설치 한 방법과 순서로는…
1. Owncloud를 받아 설치
2. SSL 인증서를 만들어 사용 준비
3. Nginx 설정
그럼 설치를 시작 해보자.
※ Owncloud 설치
– http://owncloud.org/install 를 참고해서 설치 하면 된다.
※ SSL 인증서 만들기
– 직접 발급 가능하지만 덤프로 만드는법을 적는다. 리눅스 기준으로 작성하겠다.
# 저장될 위치로 이동
$ cd /etc/nginx/ssl
# 이후로는 생성작업
$ openssl genrsa -out server.key 2048
$ openssl genrsa -des3 -out server.key 2048
$ openssl req -new -key server.key -out server.csr
$ openssl x509 -req -days 365 -in server.csr -signkey server.key -out server.crt
여기까지이며 완료가 되면 해당폴더에 key파일과 csr파일이 생성된다.
주의할점은 생성중 비밀번호를 입력하란 이런 문구가 뜨는데 입력을 할경우
nginx가 실행될때마다 비밀번호를 물어보고 비밀번호가 맞아야 실행이 되는 일이 발생한다.
만약 생성해버렸다면 이와같이 설정하면 된다
# openssl rsa -in server.key -out server.key
※ conf 수정 (경로 : /etc/nginx/sites-available/default)
server {
        listen 443 ssl;
        server_name example.co.kr;

        ssl_certificate /etc/nginx/ssl/server.crt;
        ssl_certificate_key /etc/nginx/ssl/server.key;

        # Path to the root of your installation
        root /usr/share/nginx/html/owncloud;

        client_max_body_size 10G; # set max upload size
        fastcgi_buffers 64 4K;

        rewrite ^/caldav(.*)$ /remote.php/caldav$1 redirect;
        rewrite ^/carddav(.*)$ /remote.php/carddav$1 redirect;
        rewrite ^/webdav(.*)$ /remote.php/webdav$1 redirect;

        index index.php;
        error_page 403 https://www.example.co.kr;
        error_page 404 https://www.example.co.kr;

        location = /robots.txt {
            allow all;
            log_not_found off;
            access_log off;
        }

        location ~ ^/(data|config|\.ht|db_structure\.xml|README) {
                deny all;
        }

        location / {
                rewrite ^/.well-known/host-meta /public.php?service=host-meta last;
                rewrite ^/.well-known/host-meta.json /public.php?service=host-meta-json last;

                rewrite ^/.well-known/carddav /remote.php/carddav/ redirect;
                rewrite ^/.well-known/caldav /remote.php/caldav/ redirect;

                rewrite ^(/core/doc/[^\/]+/)$ $1/index.html;

                try_files $uri $uri/ index.php;
        }


	location ~ \.php(?:$|/) {
  		fastcgi_split_path_info ^(.+\.php)(/.+)$;
  	 	include fastcgi_params;
  	 	fastcgi_param SCRIPT_FILENAME $document_root$fastcgi_script_name;
  	 	fastcgi_param PATH_INFO $fastcgi_path_info;
  		fastcgi_param HTTPS on;
		fastcgi_pass unix:/var/run/php5-fpm.sock;
		fastcgi_index index.php;
   	}

        location ~* ^.+\.(jpg|jpeg|gif|bmp|ico|png|css|js|swf)$ {
                expires 30d;
                access_log off;
        }
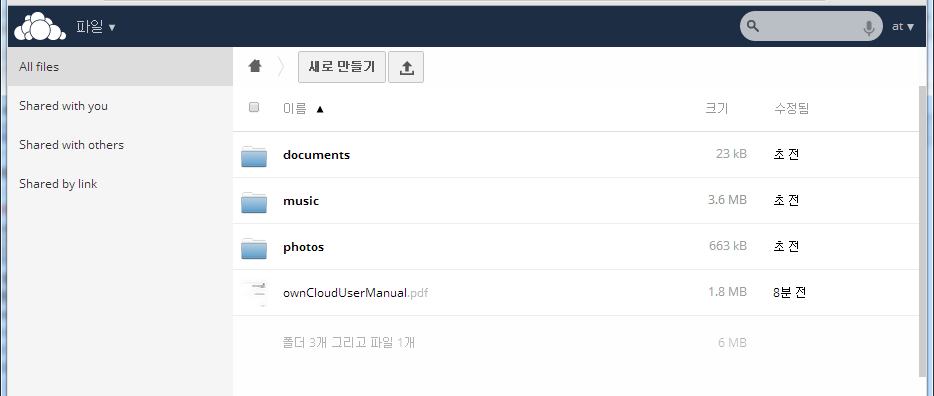
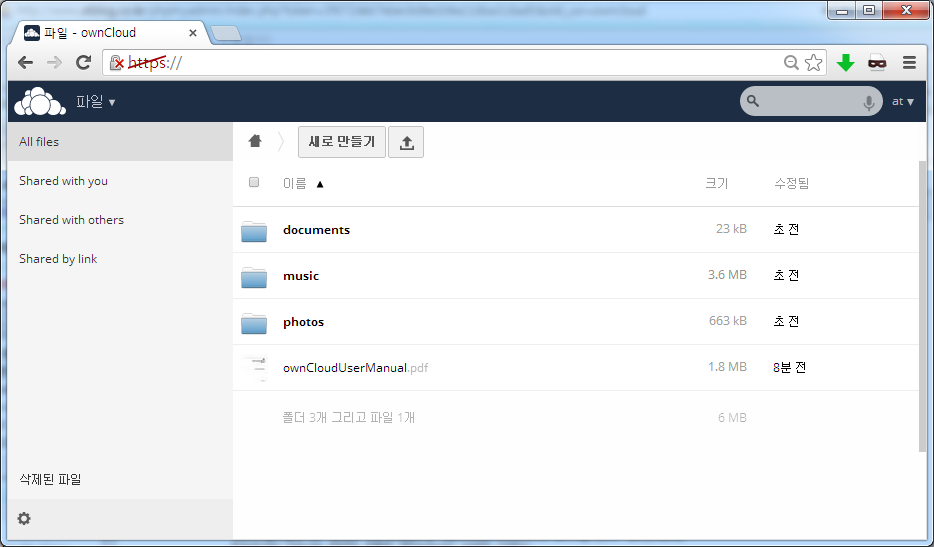
여기까지 끝내고난후 https://www.example.co.kr 에 접속하면 자신의 클라우드를
볼 수 있을 것이다.
댓글 남기기